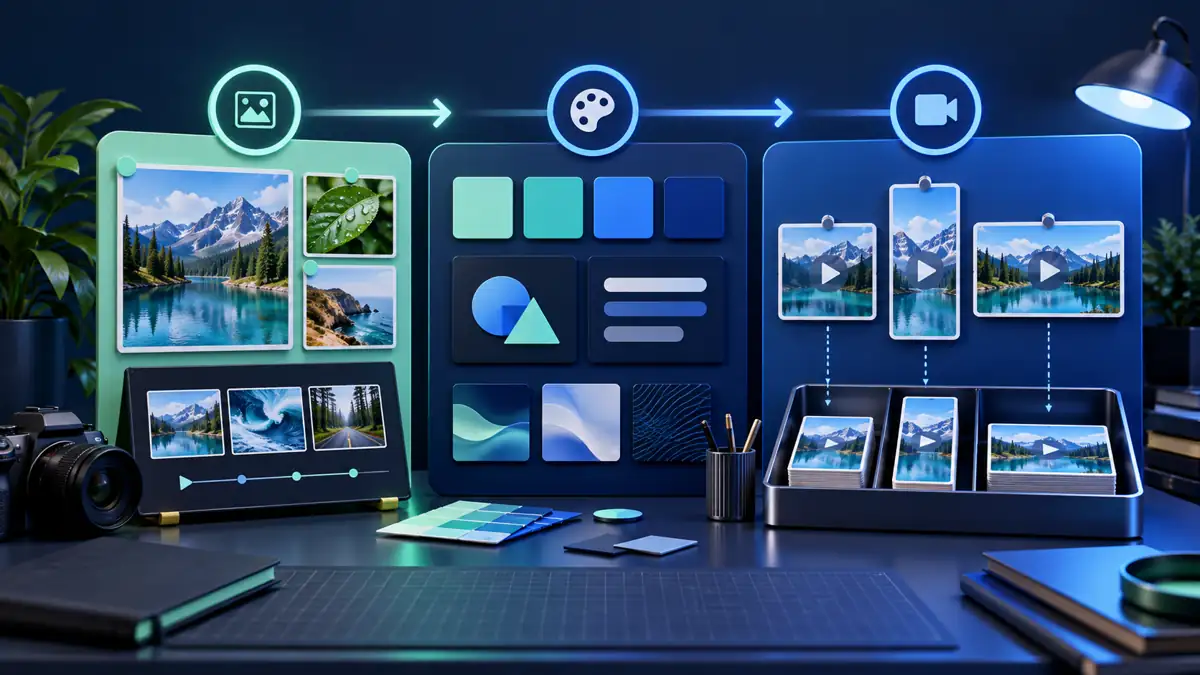
Keep the kit in three parts
The point is not to make a longer brief. It is to avoid deciding everything inside a motion prompt after the render has already begun. A kit makes the input, identity, and release context visible before you spend another generation.
Source package
Choose the exact image or shot pair, note the subject that cannot drift, and name the action you want the clip to begin from. If the frame is not ready, fix the frame before adding movement.
Brand package
Record the colour treatment, crop discipline, logo-safe space, product details, and visual mood that should remain recognisable. These are constraints, not decoration added after the result.
Delivery route
Name one destination frame and one review condition: where the clip appears, which aspect ratio it needs, and what must still read when the motion starts.
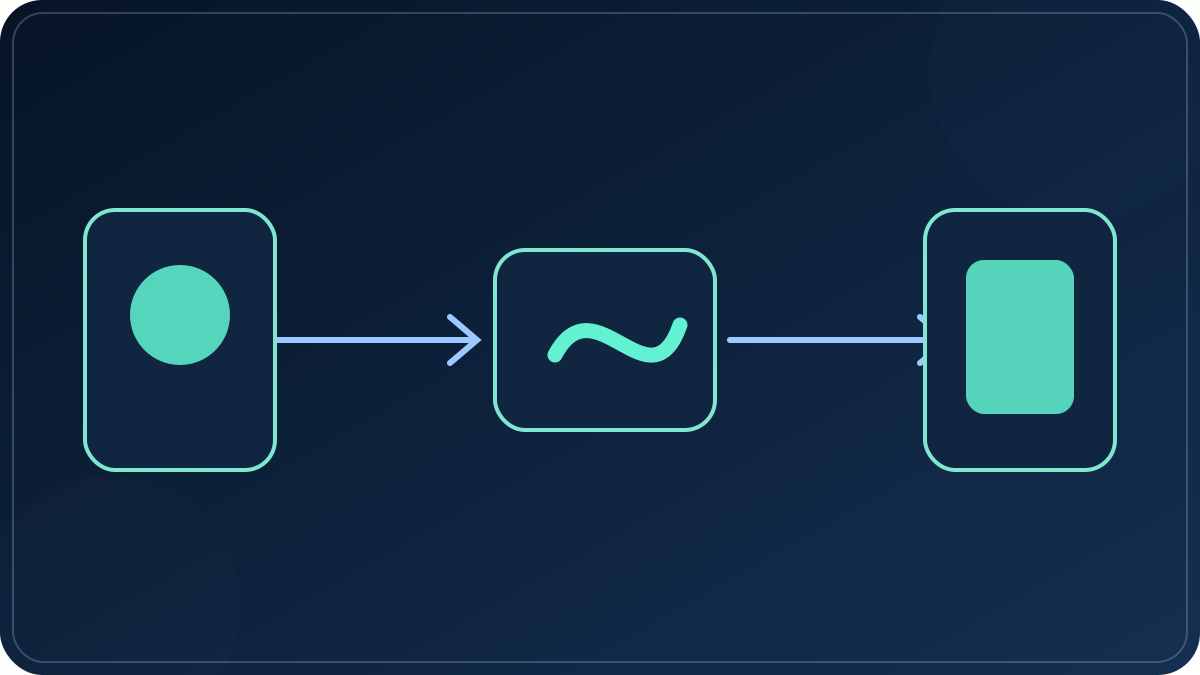
What goes in each package
Source package
- One named master image or a named first-and-last-frame pair
- Subject, action, and detail that must survive motion
- Whether this is a one-image animation or a multi-shot story
Brand package
- Colour and lighting direction
- Product, person, or mark that cannot be obscured
- Any crop boundary or quiet space needed for a later title
Delivery route
- One intended frame: vertical, square, or landscape
- One channel or placement context
- One visible review question for the finished render
Decision record
- What stays fixed on the next version
- What is allowed to change
- What makes the next render worth keeping
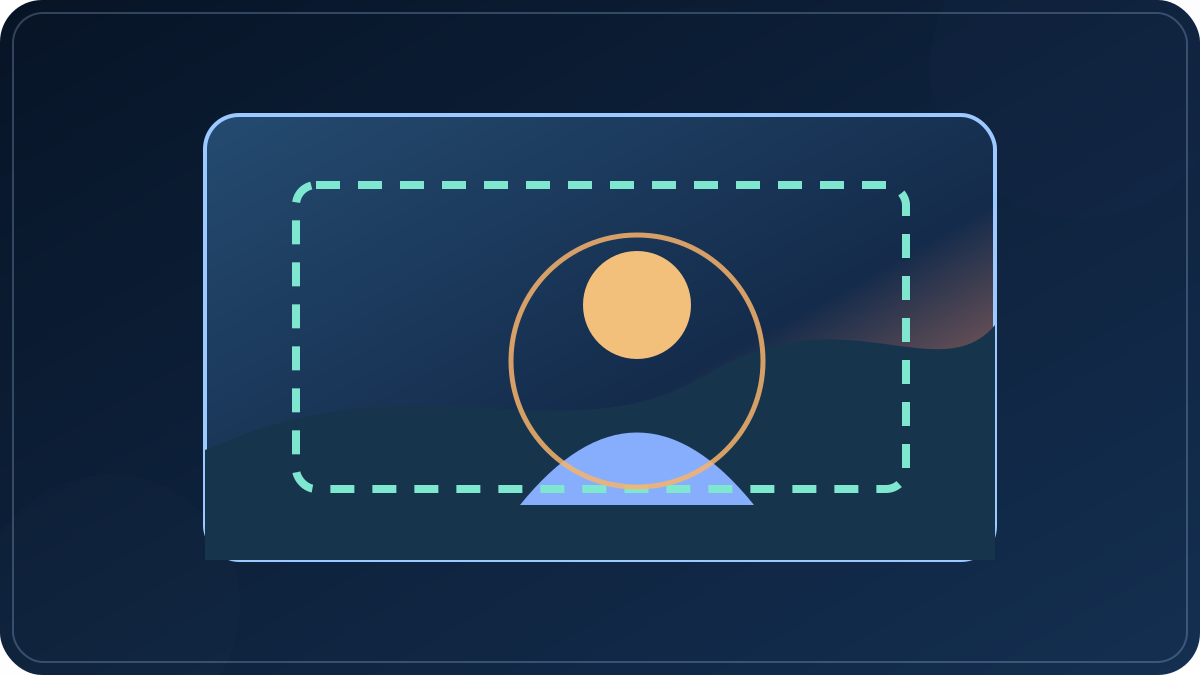
Choose the route before you choose motion
A movement that works in a wide frame may hide the product in a vertical placement. A motion idea becomes more useful when it is written against one route instead of an imaginary universal export.
| Route | Prepare before generation | Review after generation |
|---|---|---|
| Vertical placement | Keep the subject and any essential detail inside a tall safe area; name the first readable moment. | Can the intended subject still be recognised without a horizontal crop? |
| Square placement | Plan for a compact central composition; decide whether the edge details matter. | Does the motion preserve the balance of the centre frame? |
| Landscape placement | Use the width deliberately: decide where a camera move begins and where it lands. | Does the frame still lead attention to the subject rather than the empty side? |
Working limit: One source package can serve several routes, but the routes are not interchangeable. Treat each crop and delivery context as a checked version, not as an automatic export afterthought.
Turn the kit into a reusable preflight
- Name the master source. Save the image or shot pair with a name that makes it findable later. Do not build a prompt around a file you cannot identify again.
- Circle the details that must survive. A face, a label, a product edge, or a visual mark needs a visible role in the shot—not just a mention somewhere in the prompt.
- Write the brand constraints separately. Keep colour, tone, crop, and protected space outside the motion sentence so they can be reviewed without changing the action.
- Choose one destination and one check. Pick the intended frame, then state a single visible condition for the render. If it passes, decide whether another route deserves its own version.
Why the kit is more than a prompt template
A 2019 Wibbitz product page described a short-video workflow in separate layers: templates, brand assets, a media library, and a topic choice. That is historical product context, not a claim about current AI models. The durable lesson is structural: generation belongs inside a production system with identifiable inputs and delivery choices.
Historical source: Wibbitz archive, 2019. This guide uses the archived workflow only as a source for an original planning method; no archived wording or performance claim is reproduced.
Questions about image-to-video asset kits
Do I need a separate asset kit for every render?
No. Keep one kit for a clear creative unit, then version only the part that changes. A new source image or a new delivery route is a reason to make a new version of the kit.
What is the minimum source package?
One identifiable source image, one sentence about the action, and one detail that must remain clear. That is enough to decide whether a single-image workflow fits the shot.
Why separate brand choices from the prompt?
It makes them reviewable. You can preserve a crop rule or protected visual detail while testing a new movement, instead of changing identity and motion in the same rerun.
Can I reuse one asset kit across aspect ratios?
Reuse the source and brand notes, but add a route-specific crop and review condition. A vertical, square, and landscape version should each be checked as their own decision.
Related planning guides
Prepare the source package, then decide whether one image is enough, plan the frame, and test a single change at a time.