Photo2ReelFRAME
Before you upload

Image to video: start from the frame you actually want.

The model does not look at your photo. It looks at a resized, re-cropped copy of it, made to fit a frame you never chose. Whatever fell outside that frame is not in the video, and no prompt brings it back. This is the step before every other step.

The short answer

Decide the output frame first, then crop your photo to it yourself. A portrait photo going into a landscape output gets cut by software that does not know what matters in your image — usually the middle band, which is often the least interesting part. Crop it to the target ratio before uploading and you keep the decision. Leave it and the software decides for you, silently, and you find out after you have paid for the render.

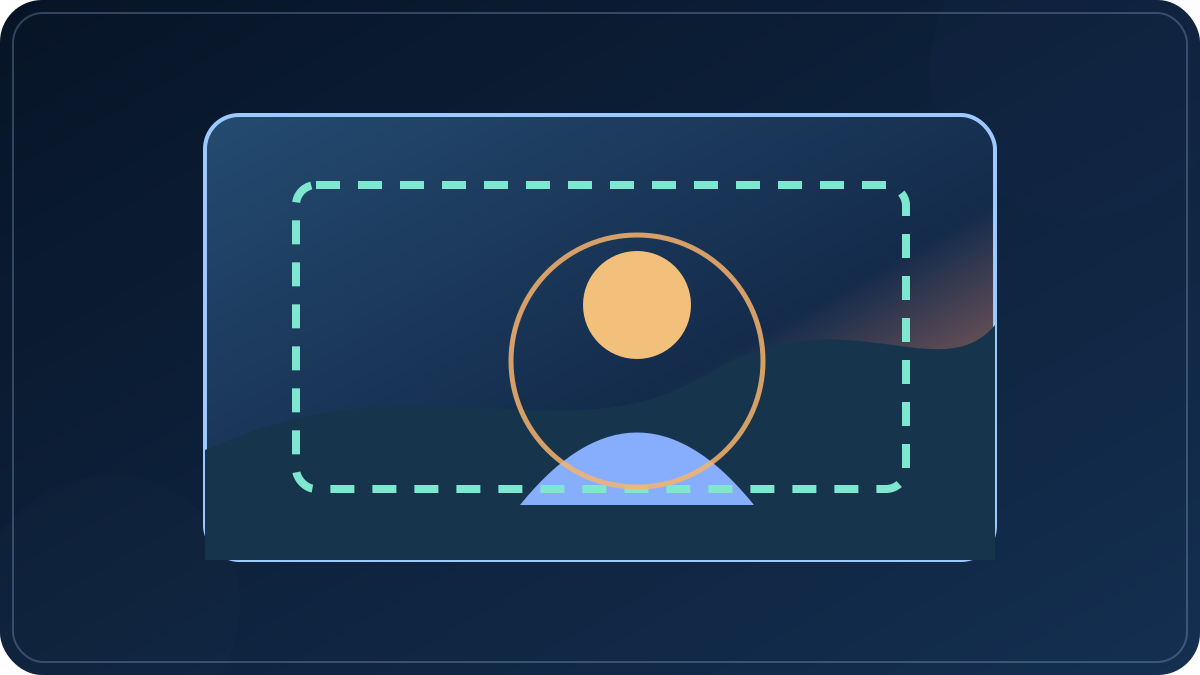
One source frame passing through two differently shaped crop windows before a final video frame
The original crop and the final delivery frame can each change which source detail survives.

Two resamples happen before you see a single frame

This is the part that explains most "the result does not look like my photo" complaints, and almost nobody describes it.

Your file goes through at least two conversions. First it is scaled to whatever internal size the model works at — usually smaller than your original, sometimes much smaller. Then the output is written at the delivery frame you selected. Neither step is lossless, and neither one asks you what should be preserved.

WHAT ACTUALLY HAPPENS TO YOUR FILE 1 · YOUR PHOTO Whatever ratio you shot it at You know what matters → 2 · MODEL INPUT Scaled to the model's own size Detail is discarded here → 3 · OUTPUT FRAME The ratio you picked at export Composition decided here → 4 · THE CLIP Moves, and looks nothing like your file Steps 2 and 3 both change the composition. Only step 1 is yours to control. Nothing in a text prompt can undo a crop that already happened.
Two resamples, two chances to lose the part of the photo you cared about. Only the first one is yours.

This is why a sharp original can come back soft, and why a wide shot can come back as a close-up of a wall. Neither is the model misunderstanding you. Both are the frame being decided by something that is not you.
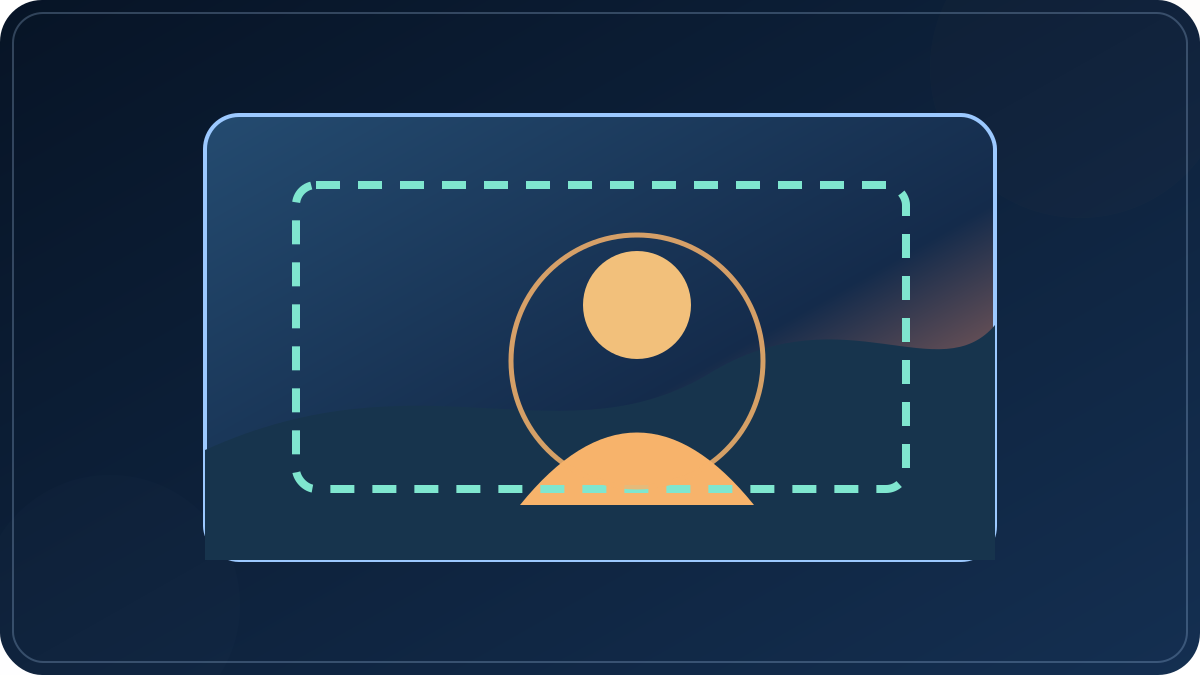
A source photo branching into vertical, square, and landscape frames with different safe edges
The planned frame determines what needs protected room in the source image.

Pick the frame, then crop to it

Three delivery frames cover almost everything. The right starting move is different for each, and none of them is "upload as is".
ONE PORTRAIT PHOTO · THREE DELIVERY FRAMES SOURCE tall, subject centred 9:16 · VERTICAL Keep it. Leave headroom for captions. 16:9 · LANDSCAPE A band gets cut. Choose the band yourself. 1:1 · SQUARE Crop around the subject, not around the middle.
The same photo, three frames, three different crops. Doing this yourself takes a minute; leaving it to the service costs a render.
Vertical, from a portrait photoThe easiest case, and the one people overthink. Crop only if the photo has dead space at top or bottom. Keep headroom if you plan to burn captions in later — that space will be covered.
Landscape, from a portrait photoThe hardest case. You are removing most of the height, so decide deliberately which band survives: the face, the product, or the horizon. The service's default will take the centre, which is rarely the best band.
Square, from anythingLeast loss, most flexibility. Crop tight around the subject rather than centring the whole frame, because a square forces a decision that a rectangle lets you avoid.
What not to doDo not upload a 3:2 photo and ask for 9:16 with "keep everything". It cannot. Something is being removed, and you are choosing not to be the one who decides.
A vertical picture frame with an important subject comfortably inside the safe area
A safe source crop protects the visual owner before any prompt introduces movement.

Three ways a vertical clip fails before generation starts

These are composition failures, not model failures. They are all decided in the crop, and all three are cheap to avoid.

  1. The head is cut, or the feet are.Vertical frames are unforgiving. If the subject's head sits near the top edge of the source, the first crop clips it. Pull the crop down before uploading, and leave a margin.
  2. The caption zone is eaten.Most vertical platforms overlay text and controls near the bottom. If your subject sits there, it will be covered. Leave the bottom band empty on purpose.
  3. The subject sits dead centre in a tall frame.A centred subject in 9:16 leaves two dead bands. Move the crop so the subject occupies the upper third and the lower third carries the motion or the caption.

Why the result comes back blurry

This is one of the most common searches in this category, and the usual assumption — that the model is low quality — is often wrong. Blur has three causes, and only one of them is the model.

Cause one: the source was already softA screenshot of a photo, a re-saved image, a crop taken from a larger picture. If the detail is not in the file you uploaded, it cannot appear in the output. Check the file at 100% before blaming the service.
Cause two: the crop was enlargedTake a small region and stretch it to fill a frame and you have invented pixels. The model will faithfully animate the invented ones. Crop from the largest version of the photo you have, not from a thumbnail.
Cause three: the model input is smaller than your fileAs in the diagram above, the model works at its own internal size. A very large upload does not survive at full detail. This is the only case where the service is responsible.
What does not fix itAdding "4K, sharp, high detail" to the prompt. Sharpness is decided by pixels that exist, not by adjectives. A prompt cannot restore detail that the resample removed.

The practical test: open the file you are about to upload at 100%, in the crop you intend to use. If it looks soft there, it will look soft in the video. That check takes ten seconds and saves a render.

Sixty seconds before you upload

  1. Name the delivery frame.9:16, 16:9, or 1:1. Not "I will decide at export" — the export choice is what cuts your photo.
  2. Crop to that ratio yourself, in the largest version you have.Any editor will do, including the browser. The point is that you choose the band, not the service.
  3. Look at the crop at 100%.Soft now means soft later. Fix it by finding a better source, not by adding adjectives.
  4. Leave the caption band emptyif the clip is going anywhere that overlays text at the bottom.
  5. Then describe the motion.The prompt comes after the frame, never before it.

Where the crop happens on this site

Both tools here work on the frame before anything moves, and both run inside the browser with no upload — which matters here, because the file you are cropping is often the only copy you have at full size.

If the output is a slideshowGive each photo its own duration, add a track, export. The frame is set by the project, and nothing leaves the machine. Slideshow maker.
If the output is verticalPhotos plus a line of text into a 1080×1920 clip, with cuts that can land on the beat. Vertical clip maker.
If you need the picture itself to moveThat is a different class of tool, and the frame still has to be decided first. Plan the shot.
If you are choosing a serviceThe unit price is not the cost — retries are. What five seconds costs.

When readable packaging is the detail that the crop must protect, use the product-label readability guide before you add motion.

The order that saves renders

Frame, then crop, then check at 100%, then describe motion, then generate. Every step after the crop is reversible. The crop is the one decision you cannot undo after paying.

If you only take one thi ng from this page: the model is not looking at your photo. It is looking at a copy that already lost the argument about what matters. Win that argument yourself, before the upload button.